Building My Home Server (Part 4 - Blocking Ads with Pi Hole)
Nobody likes ads. They tend to be intrusive, irritating and inconvenient. Not only that, but they are usually delivered alongside tracking cookies and analytics code, which despite all the data sent back to the mothership, usually fails to deliver adverts that are truly meaningful or relevant.
I've used a few ad blockers over the years. AdBlock Plus, uBlock, uBlock Origin, have all risen and fallen. Brave is my current browser of choice. But all of these share the same problem - they only work inside the browser. What if I want to block ads inside mobile apps? On the smart TV?
Pi-hole
Pi-hole is a replacement DNS and (optionally) DHCP server which blocks domains responsible for ads and other unwanted content. It's free and open source, and (as the name suggests) can run within the limitations of a Raspberry Pi (although it's quite happy on other mainstream Linux distros too!).
The benefit of the Pi-hole is that it blocks access to the domains used to serve ads, trackers, malware and other nasties at the network level. This makes for a consistent experience across all devices, even ones where you wouldn't normally be able to install an ad-blocker. As a bonus, because devices are unable to resolve the domain names of the ad servers, they never even download the content - saving time and bandwidth for more useful things!
Unraid as a hypervisor
My first Pi-hole installation was on an actual Pi (original Model B to be exact). This Pi is still running as both a DNS server and DHCP server for my network. I wanted redundant DNS servers, so I decided to set up Pi-hole under a VM on my Unraid server as well. If you're installing on a Pi, skip this section.
Unraid uses QEMU to host virtual machines. Adding a new VM on top on Unraid was really straightforward. The "VMs" tab is immediately accessible from the top level menu. Clicking "Add VM" guides you through the process, providing (mostly) sensible defaults based on the guest operating system that you choose.
I chose to use Debian as my guest OS. I allocated 1024 MB memory and a 4 GB vDisk. I left everything else at the defaults except for the keyboard settings, which I had to switch to en-GB.
I used the Debian Net Install image as my OS Install ISO. This is a small (335 MB) image which downloads packages as necessary for installation. I went with the defaults (SSH and system utilities, no desktop).
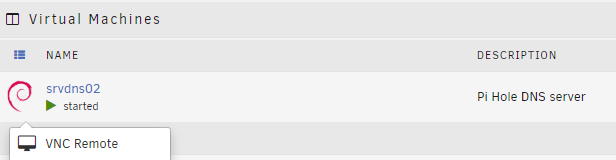
Once the new VM has been created, you can click on the icon at the left to open a context menu. This allows control over the VM (e.g. start, stop) and also provides and option to open a remote access session in the browser (using VNC). This is probably the least intuitive part of the UI.
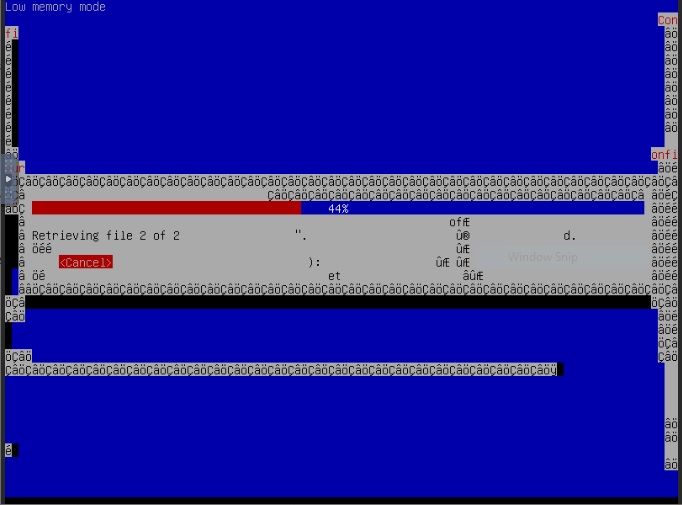
I found that accessing the QEMU machine over VNC was mostly reliable, although the Debian installer did briefly get a little strange!
Installing Pi-hole
The simplest way to install Pi-hole is using the "one-step automated install" - run the following command:
curl -sSL https://install.pi-hole.net | bash
curl is used to transfer files via the command line. You may need to install this first with:
sudo apt-get install curl
This command line uses curl to download an install script from install.pi-hole.net (which actually redirects to to raw.githubusercontent.com/pi-hole/pi-hole/master/automated%20install/basic-install.sh behind the scenes). The downloaded script is then piped into the bash shell, which executes it.
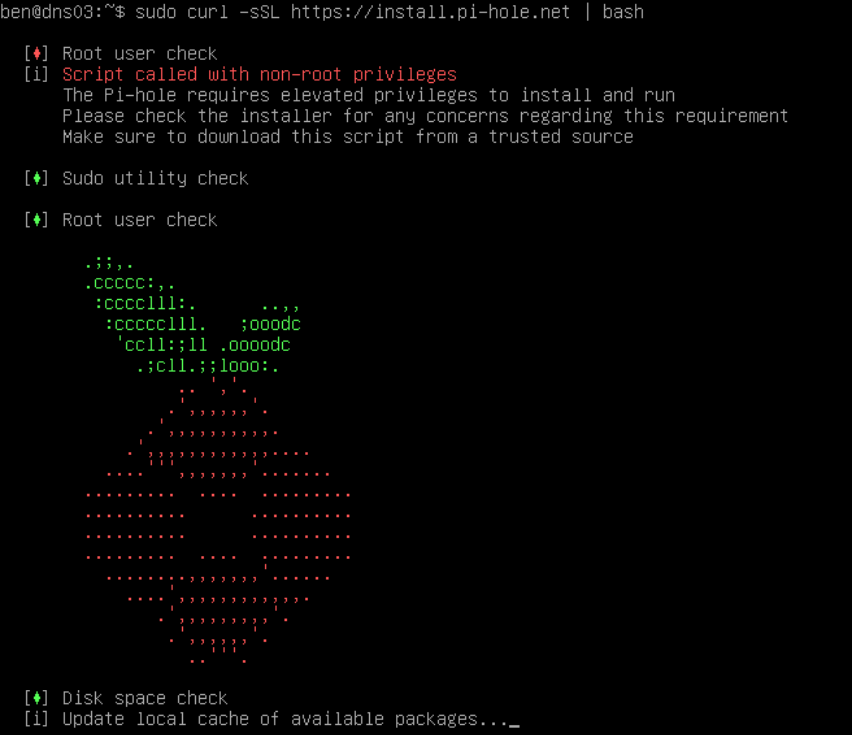
The installer is fairly straightforward, but does require a few choices to be made.
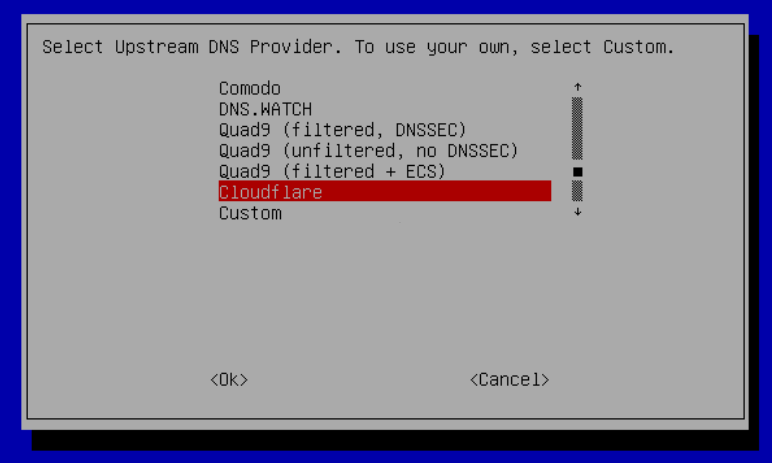
Upstream DNS
The first choice you have to make is which "upstream" DNS provider to use. This is the service that the Pi-hole will use to resolve domain names that it has not seen before (or which have expired from it's cache). I chose CloudFlare as they aim to provide "the fastest, privacy-first consumer DNS service."
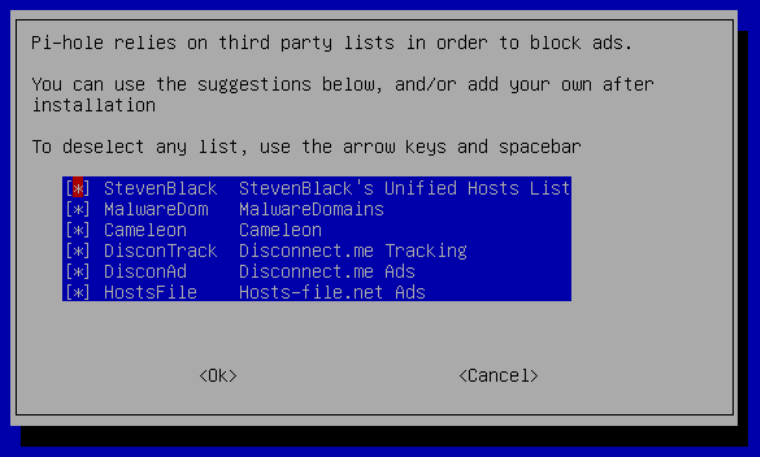
Blocklists
The next dialog prompts to select the blocklists to use. I just left all of these enabled.
Protocols
Pi-hole supports IPv4, IPv6, or both. The easiest thing to do is leave this at the default (most likely both).
Static IP Address
Because Pi-hole is a DNS server, it needs to have a static (fixed) IP address rather than a dynamic address that can change over time.
The installer will offer to use the existing IP address and Gateway settings, converting these to a static assignment if necessary. I chose to assign an IP address outside of my router's DHCP range so that it wouldn't conflict with any dynamic assignments.
Web Admin Interface
The installer will offer a choice on whether to install the web-based admin interface. I can't think of many scenarios where the answer would be "no"!
The installer will then ask whether to install the lighttpd web server. This is a prerequisite of running the web interface, so seems like a slightly redundant question.
Logging
There are a couple of choices around logging and displaying of statistics. I left these at the defaults, but they can be changed for greater privacy of network users if desired.
Finish Installation
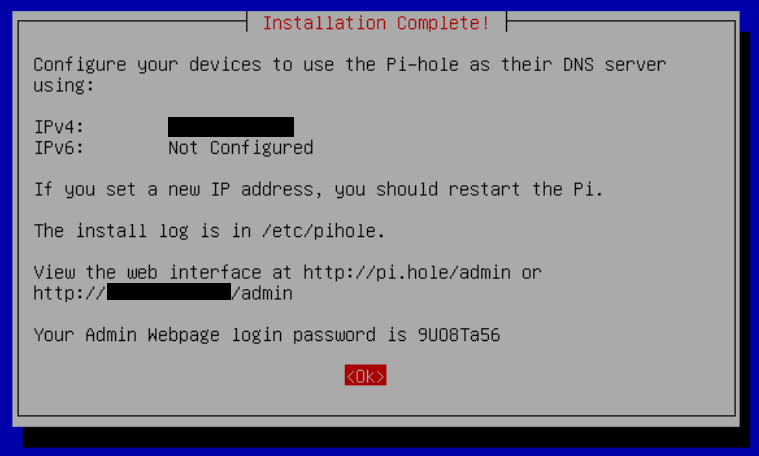
After answering all of these questions, the installer will proceed to download and configure the various components that make up Pi-hole.
The final screen will display information on how to access the web interface. Take a note of the password!
Advertise additional DNS server
If your router is still providing DHCP services (as would be typical in a home network enivronment), you should be able to configure your router to advertise the Pi-hole as the DNS server for the network via your router's control panel.
Because I was already running a Pi-hole on my Raspberry Pi, which was also acting as a DHCP server, I needed to configure this Pi to also advertise the new Pi-hole installation running on my Unraid server.
To do this, I created a new configuration file for dnsmasq (which Pi-hole uses to provide DHCP).
sudo nano /etc/dnsmasq.d/02-pihole-dhcp-custom.conf
I added a dhcp-option line to this file defining the available DNS servers to advertise:
# Advertise both Pi-holes as DNS options over DHCP
dhcp-option=dns-server,192.168.1.2,192.168.1.3
After changing configuration, restart the Pi-hole services:
sudo pihole restartdns
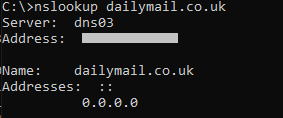
Blocking should now be in effect - try using nslookup to resolve a domain on the blocklist. It should return 0.0.0.0.