
Building My Home Server (Part 1 - NAS setup and local backup)
Back in 2017, I wrote about how I almost lost all my data. Luckily I was able to recover my drive with the aid of a soldering iron and a few forum posts, but this was a shot across the bows and I started looking for a better backup solution.
History
I borrowed a D-Link DNS-320 two-bay NAS (network attached storage device) from a friend at first. This was pretty old and basic, but was a good first step as it ensured I had somewhere to back up my PC to. I also experimented with various backup services and tools. Unfortunately I didn't find much success with any of these - Backblaze wouldn't maintain an acceptable upload speed, Duplicati backups would intermittently corrupt during upload, and CloudBerry couldn't upload my files for some reason.
Fast forward a couple of years, and I still didn't have an off-site backup solution in place. At some point, Microsoft had disabled NTLMv1 authentication support out-of-the-box, and D-Link never released a firmware update with NTLMv2 support - meaning the NAS was also effectively dead and I was back to square one.
Enter the Microserver
A colleague was selling their HPE ProLiant Microserver G8 and Synology DiskStation DS218j and kindly offered me a trial period with both of them so I could decide which one I wanted. I started with the Microserver, and ended up being so satisfied with the setup that I never even tried the Synology NAS.
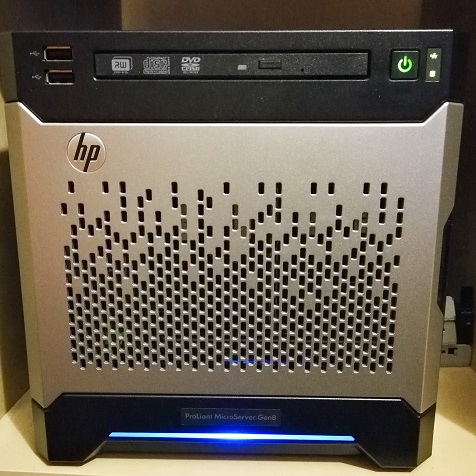
The Microserver G8 is an a roughly ITX sized cube with four 3.5" hard drive caddies. The model I bought shipped with a dual-core Intel Celeron G1610 CPU and 4GB ECC memory. Despite it's small size and low price, the Microserver G8 shares most server features with it's larger HPE ProLiant G8 brethren - including HPE Integrated Lights Out (iLO) which allows full remote access (even to the BIOS). This was ideal as I didn't have a VGA cable (and the Microserver doesn't support any other display outputs!).
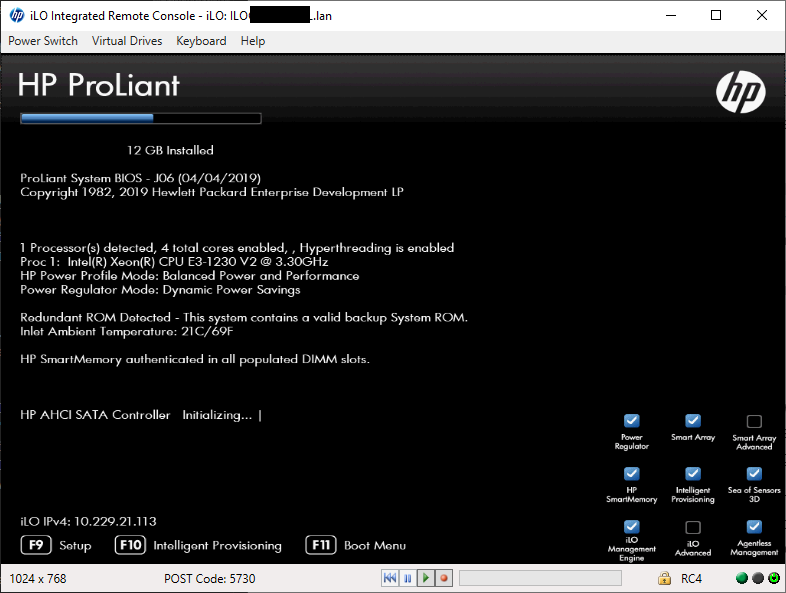
Shortly afer buying it, I decided to upgrade the CPU to an Intel Xeon E3 1230 V2. This is a 69W CPU, but the stock cooler in the Microserver is a passive block rated at 35W. I found that disabling the Xeon's turbo mode was enough to keep it within acceptable temperatures, even with four threads permanently maxed out by Rosetta@home.
Unraid OS
Since I primarily wanted to run the server for network storage, I ideally wanted a low maintenance operating system with remote management capabilities. I originally considered FreeNAS, but gave up after a few failed installation attempts where it kernel panicked during boot.
I decided to install the 30-day trial of Unraid, which promised to be a simple way to manage disk shares via a web interface. I followed the setup instructions to create a bootable USB drive with Unraid installed, and plugged this into the internal USB port of the Microserver (to keep it out of the way).
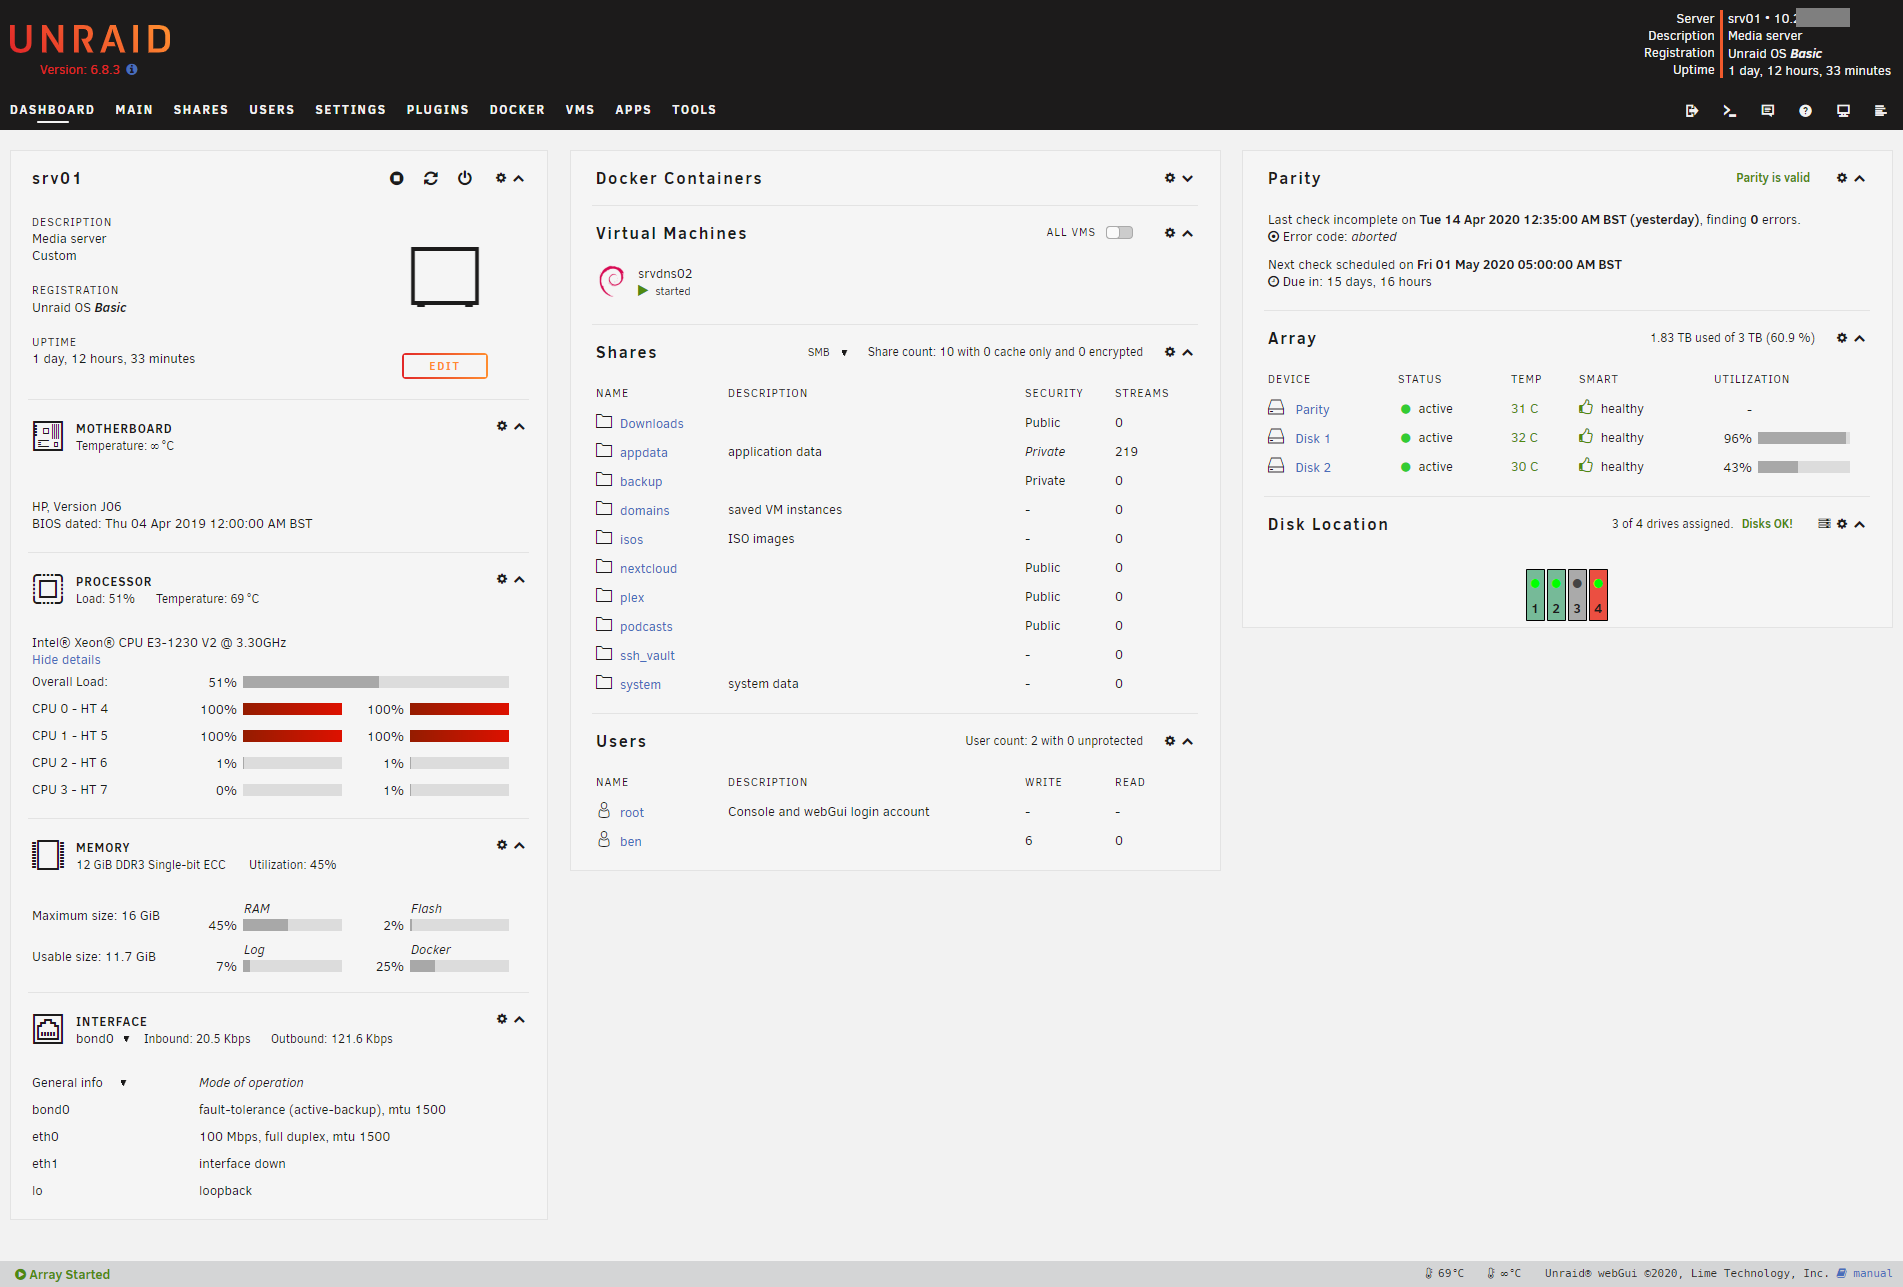
The entire Unraid setup procedure was completed via the web interface. It was simple to set up and I soon had a spare 1TB hard drive running as a disk share. I celebrated this by immediately backing up my desktop PC to my new NAS!
I ordered a pair of 2TB Seagate IronWolf NAS drives - one was installed alongside the existing drive as a data disk, the other was configured as a parity disk to protect against drive failures. This configuration provided a total of 3TB usable storage.
It wasn't long before I filled the 1TB drive (which I had dedicated to Plex), so I followed the "parity swap procedure" to swap in a 4TB WD Red as the new parity disk and copy all my Plex content onto the 2TB drive that this freed up.
Backing up from Windows to Unraid
The Robust File Copy (Robocopy) utility has been built into Windows since Vista. It is a powerful command line tool which can be used to copy files and directories while preserving the original timestamps. It also supports multithreaded copying and is able to rety failed copy operations in the event of network interruptions.
I created a batch file which runs the following command:
robocopy D:\Users\Ben \\microserver\pc-backup\ben /MIR /XD "D:\Users\Ben\Downloads" /XD "* Previews.lrdata" /R:1 /W:0 /XJ /MT
This can be broken down as follows:
robocopy D:\Users\Ben \\microserver\pc-backup\ben- specify source and destination folders/MIR- mirror the source directory. This will delete any files and folders from the destination that no longer exist in the source/XD "D:\Users\Ben\Downloads"- exclude the Downloads directory (I don't need a backup of installers etc downloaded from the internet)/XD "* Previews.lrdata" ".fingerprint"- exclude any directories which end inPreviews.lrdata. Adobe Lightroom creates these to cache preview images, but they are nonessential and will be regenerated if missing/R:1 /W:0- attempt to copy each file once only, and don't wait for locked files to be released/XJ- exclude junction points, which can point to other folders and potentially cause an infinite loop/MT- multithreaded copy is much faster
This can then be scheduled using the Windows Task Scheduler to ensure regular backups are taken.
Continue reading: Part 2 - Set up remote backup server